Tutorial: Purl Panel Banner
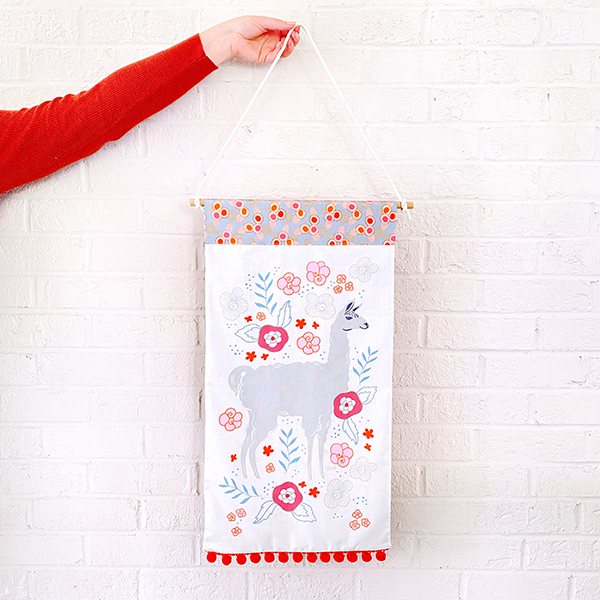
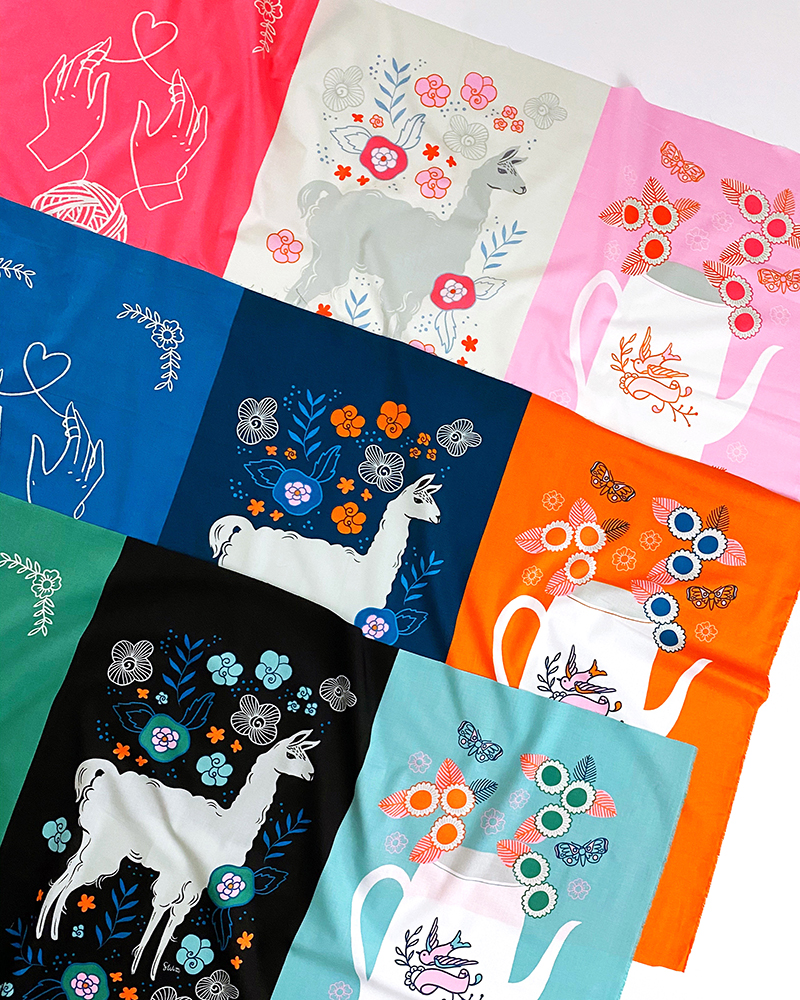
Sarah Watts loves making panels, and for Purl she created one with three different designs! Use your favorite one to make this quick and easy bit of wall decor.
MATERIALS
1 Purl Panel designed by Sarah Watts (RS2029-11, -12 or -13)
1/2 yd non directional or 7/8 yd directional backing fabric (we are using RS2036-11M Embroidered Floral - Steel by Sarah Watts from Purl)
1/2 yd pom pom trim
15" wooden dowel or stick
1 yard ribbon or cord
DIRECTIONS
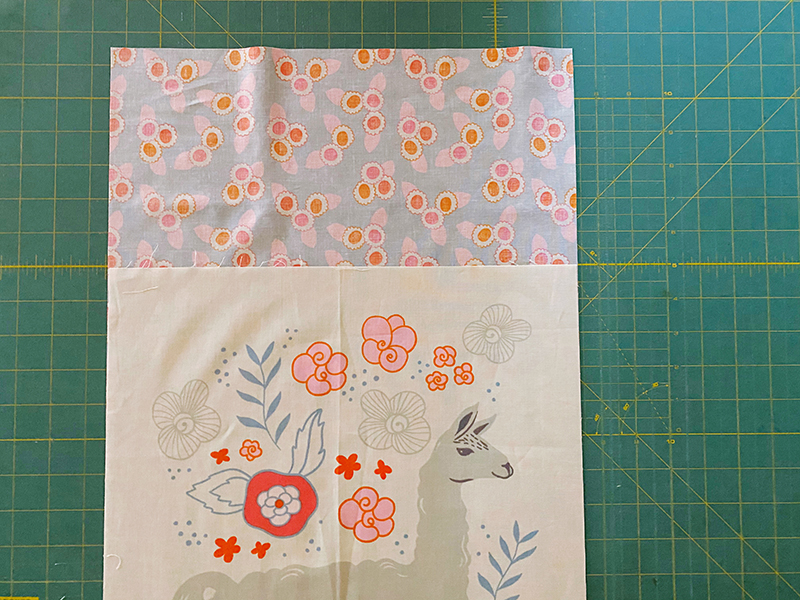
Cut out your favorite panel design. Square it up if necessary. Panel should measure about 13.5" x 22" - it doesn't matter exactly what size you trim it to, as long as the corners are right angles.

Using trimmed panel as a template, cut out a backing that is the same width and 6.5" taller.
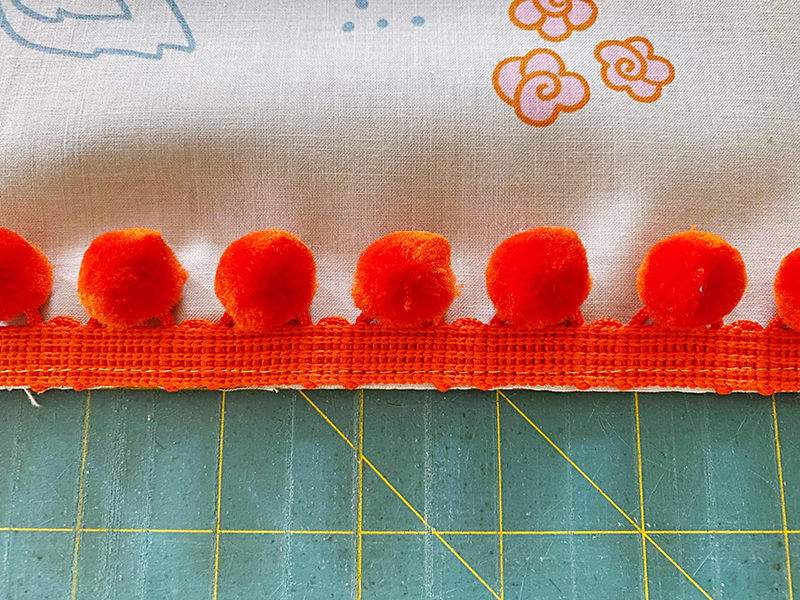
Cut trim to same length as bottom edge of panel. Use pins or clips to secure it to the panel's right side bottom edge with the pom poms pointed towards the center of the panel. Tip: cut off the outer most pom poms (just the pom poms, not the trim webbing) so that they don't interfere with the corners.
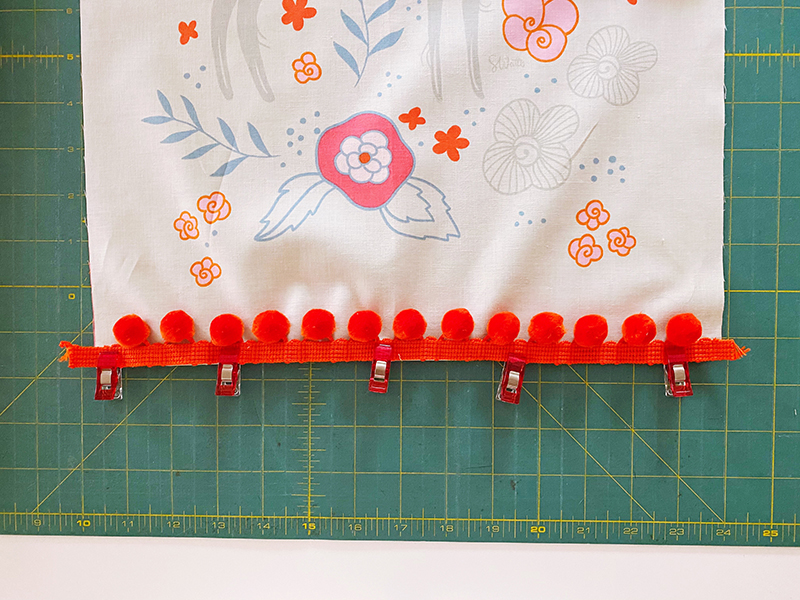
Lengthen your stitch length to about 3.0 and stitch trim to fabric close to outside edge.
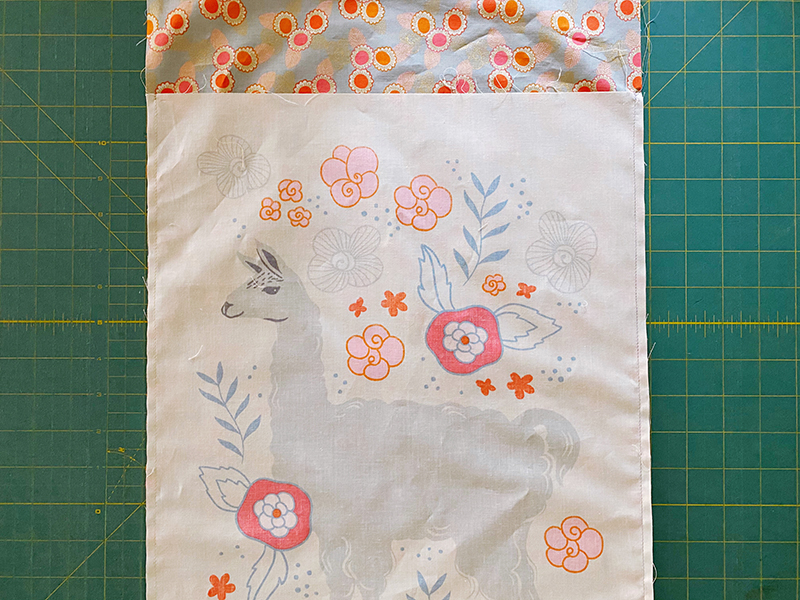
Place backing fabric right sides together with panel and align bottom edges. Pom pom trim will be sandwiched inside. Pin or clip. If you are using directional backing, make sure the print direction is upside down in relation to the panel (this is weird but trust us).

With your stitch length still at 3.0, stitch backing to panel along bottom, as close to the pom poms as you can (about a 3/8" seam allowance). Using a zipper foot helps for this seam.
Put your stitch length back to normal. Sew each side edge of panel with a 1/4" seam allowance. On each seam, start at the bottom where the pom poms are and sew up to the top of the panel. Remember, the backing is 6.5" taller so it won't line up at the top.
Clip bottom corners to reduce bulk.

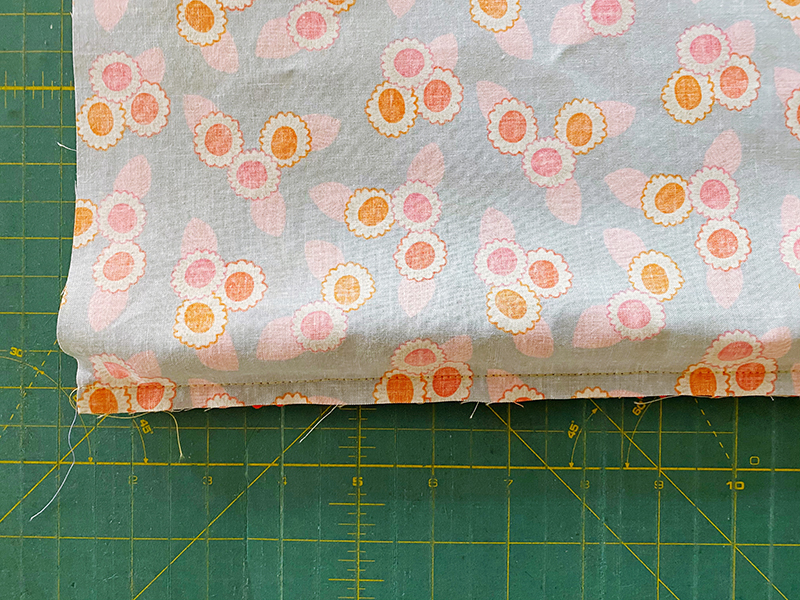
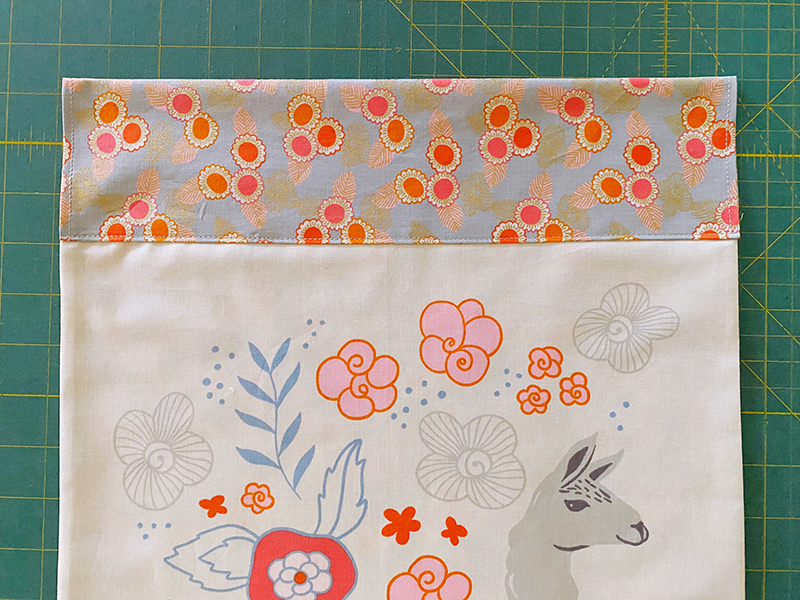
Turn right side out, push out corners and press. On top side edges of backing, fold edges 1/4" to wrong side and press. Then fold top edge 1/2" to wrong side and press.

Unfold 1/2" fold and stitch both side 1/4" folds of backing to hem. Refold 1/2" fold, then fold top edge of backing down to cover top raw edge of panel by about 1/4". To make sure you are folding straight, you can draw a line 1/4" from the raw edge of the panel first.
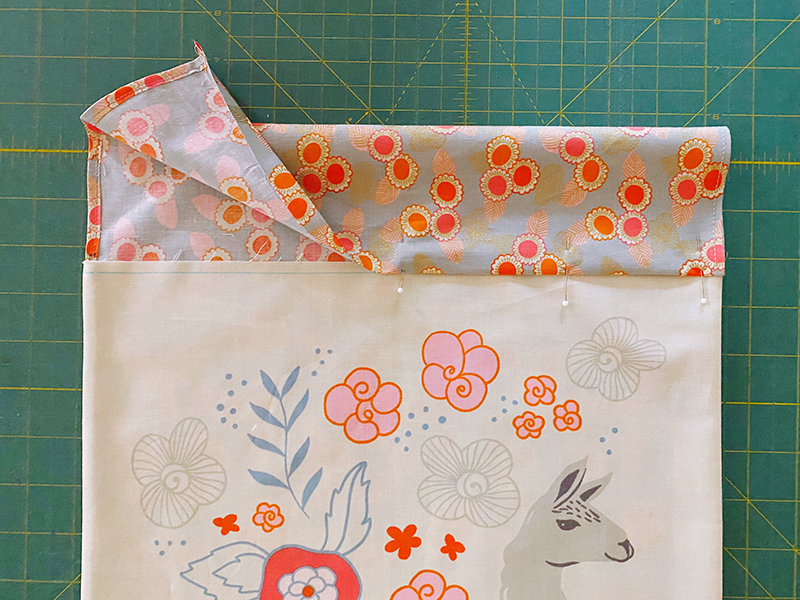
Pin in place, then stitch along the fold to create dowel sleeve, backstitching at beginning and end.
Give everything a nice press, insert dowel in sleeve, and tie edges of ribbon to ends of dowel (trim ribbon to desired length for hanging). Hang it up and settle in for a cozy afternoon of knitting or crocheting!